
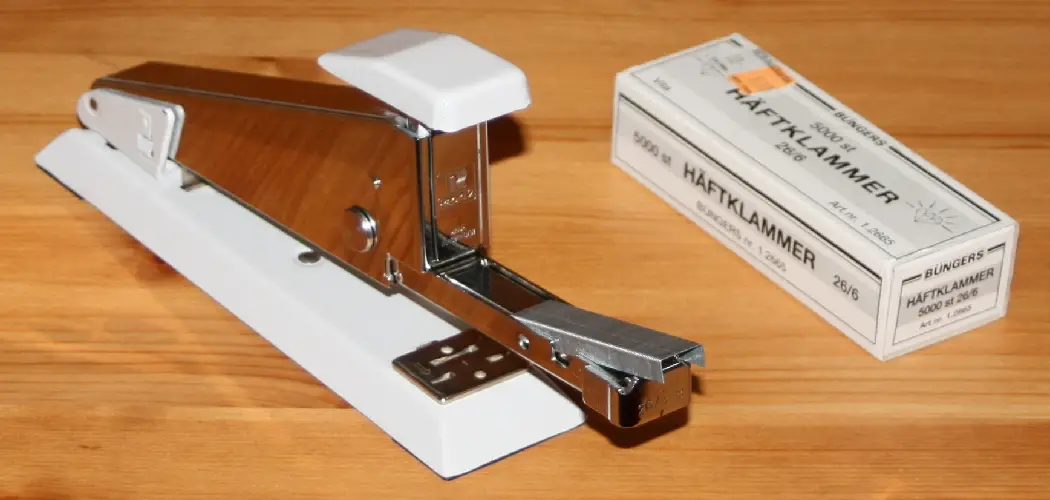
Are you tired of constantly running out of staples? Are you always searching for a new box to refill your stapler with? Look no further, as this guide will show you an easy and efficient way to refill your stapler.
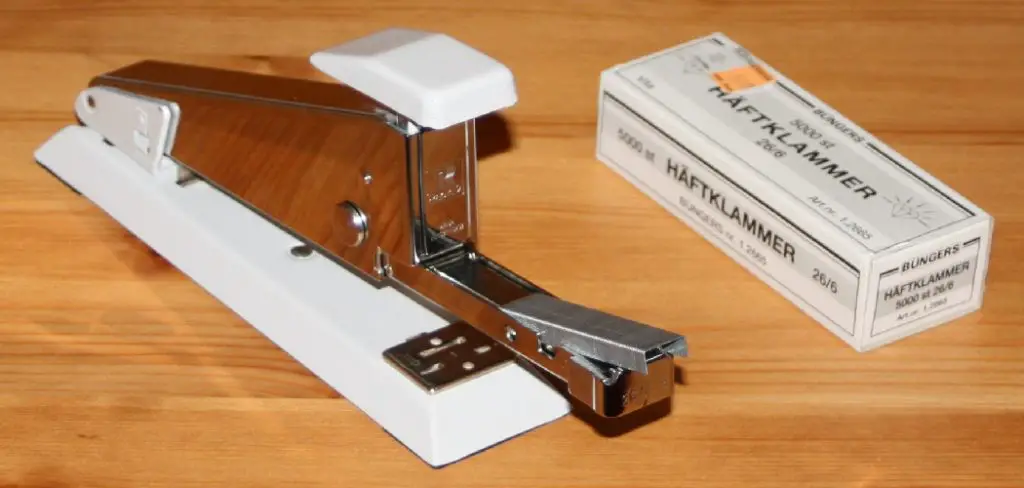
A stapler is one of those tools you never think about until it stops working mid-task. One click, nothing happens, and suddenly a simple job becomes frustrating. The good news? Refilling a stapler takes less than two minutes once you know what you’re doing.
This guide on how to refill a stapler walks you through everything from start to finish — no experience needed. Whether you’re at home, school, or the office, you’ll be back to stapling in no time.
What Are the Benefits?
Knowing how to refill a stapler on your own comes with some real, everyday advantages.
- Saves time. You don’t have to search for someone else to do it or wait until someone more “experienced” is available. You handle it yourself and move on.
- Saves money. Replacing a stapler every time it runs out of staples is wasteful. Refilling it costs a fraction of buying a new one.
- Reduces waste. Staplers are built to last for years. Refilling them instead of tossing them is a simple way to cut down on unnecessary waste.
- Builds confidence. Once you’ve done it yourself, you’ll feel comfortable helping others too. It’s a small skill that makes a real difference in a busy workspace.
- Keeps things moving. In a classroom or office setting, a working stapler keeps workflows uninterrupted. A quick refill means no delays.
What Will You Need?
Before you start, gather these basic items:
- Your empty stapler — any standard desktop or handheld model
- A box of staples — make sure they match your stapler’s size (standard staplers use 26/6 or 24/6 staples; check your stapler’s label or manual)
- A flat surface — a desk or table to work on comfortably
- Clean hands — staples are small and sharp; dry, clean hands give you better grip and control
That’s it. No special tools required.
10 Easy Steps on How to Refill a Stapler
Step 1: Set Up Your Workspace
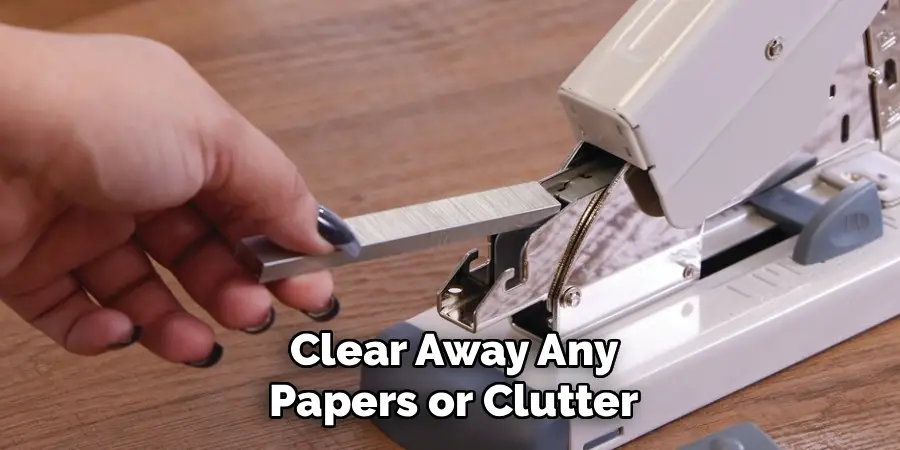
Before you do anything, find a flat, stable surface to work on — a desk or table is ideal. Good lighting helps too, since staples are small and easy to drop or lose. Clear away any papers or clutter so you have plenty of room. Taking a moment to set up properly makes the whole process smoother and reduces the chance of losing staples or fumbling around mid-refill.
Step 2: Identify Your Stapler Type
Not all staplers open the same way. Desktop staplers, handheld staplers, and heavy-duty models each have slightly different loading mechanisms. Take a quick look at your stapler before you start. Check for buttons, levers, or tabs along the back, bottom, or sides. Knowing how your specific model opens saves you from forcing it and potentially breaking something.
Step 3: Check the Staple Size
Pick up your box of staples and confirm the size matches your stapler. Most standard staplers use 26/6 or 24/6 staples — these numbers indicate the wire gauge and leg length. You can usually find the compatible size printed on the bottom or side of your stapler, or in the user manual. Never assume one box of staples fits all. Using the wrong size is the number one cause of jams and misfires.
Step 4: Open the Stapler
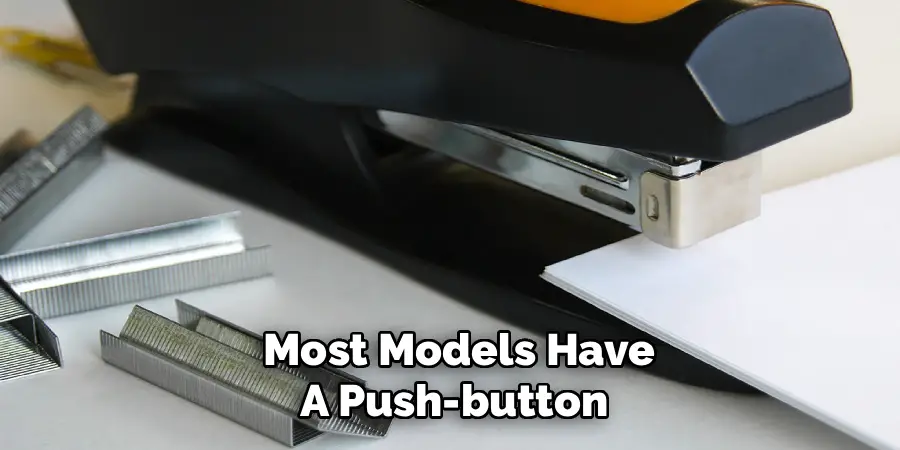
Now it’s time to open the stapler. Most models have a push-button or tab at the back that releases the top section, which you then lift upward. Others require you to press the top forward rather than up. Apply firm but gentle pressure — it should open with minimal effort. If it feels stuck or stiff, look for a hidden release latch rather than forcing it, as this can damage the hinge or casing.
Step 5: Remove the Staple Tray
Some staplers have a detachable staple tray or magazine that slides out from the back or bottom of the device. If your model has one, pull it out gently in one smooth motion. This tray is where the staples sit during use. If your stapler doesn’t have a removable tray, simply skip this step — you’ll load the staples directly into the channel inside the stapler.
Step 6: Clear Out Any Remaining Staples
Look inside the tray or channel for leftover staples. Even a few old staples left behind can cause misfeeds or jams when mixed with a fresh strip. Use your fingertip to slide them out, or gently tap the stapler face-down on your desk to loosen them. Take your time here — a clean channel ensures the new strip loads and feeds correctly from the very first staple.
Step 7: Prepare the New Staple Strip
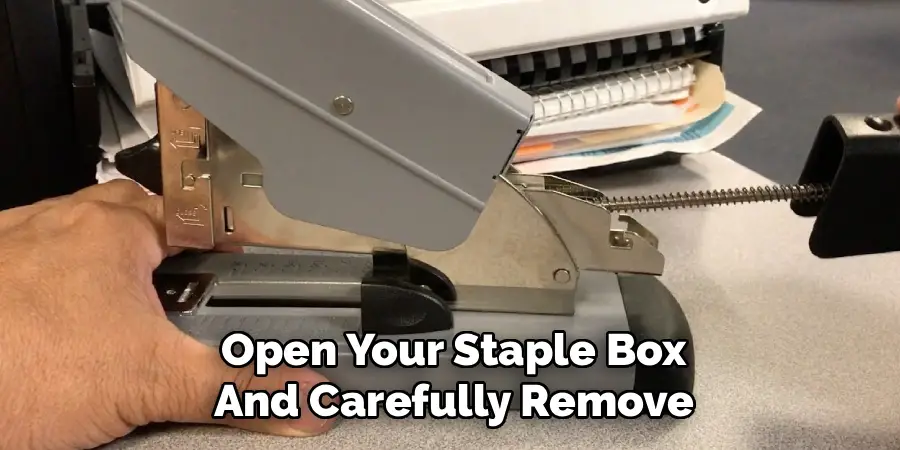
Open your staple box and carefully remove one strip. A standard strip contains around 100 connected staples. Hold it flat between your fingers and avoid bending, twisting, or squeezing it. Even a slight bend can make the strip difficult to load and prone to jamming once inside. If you accidentally bend a strip, it’s better to set it aside and use a fresh one than to risk a jam later.
Step 8: Load the Staples Into the Channel
Hold the staple strip with the flat side up and the pointed ends facing downward. Slide it into the channel or tray, following the direction of any arrow or guide markings inside your stapler. The strip should lie completely flat with no gaps or overlap. Press it gently into place to make sure it’s seated all the way to the front of the channel. A properly loaded strip will feel snug and even, not crooked or raised on one side.
Step 9: Close the Stapler
If you removed a tray, slide it back into position until you feel or hear it click into place. Then gently fold the top of the stapler back down and press until it snaps shut. That click tells you everything is properly aligned and locked in. Avoid slamming it shut — a firm, controlled press is all it takes. If it doesn’t close easily, open it back up and check that the staple strip is lying flat and not blocking the mechanism.
Step 10: Test on a Scrap Piece of Paper
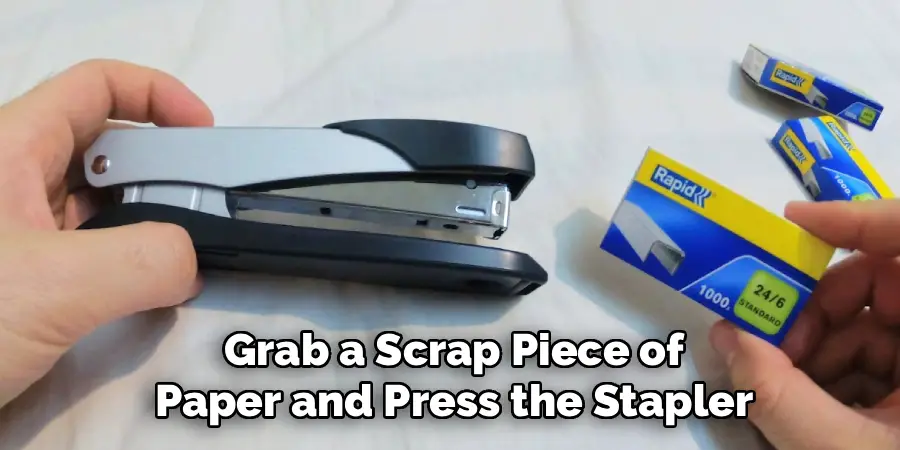
Never skip this final step. Grab a scrap piece of paper and press the stapler down once to test it. A well-loaded stapler will drive a clean, even staple through the paper without resistance. If the stapler clicks but doesn’t produce a staple, reopen it and check the strip direction and alignment. If the staple comes out bent or crooked, the strip may not be fully seated. One quick test saves you from making a mess of an important document.
5 Things You Should Avoid
1. Using the wrong staple size. This is the most common mistake. Always check the size before loading. Wrong staples either won’t fit or will jam inside the mechanism.
2. Forcing the stapler open. If it doesn’t open easily, don’t push harder. Look for a release button or latch. Forcing it can break the hinge or internal parts.
3. Loading the staples upside down. The pointed ends must face downward toward the paper. Loading them backward means the stapler will click but nothing will come out.
4. Overfilling the staple channel. More is not better here. Load only what fits comfortably in the channel. Overfilling causes jams and makes it difficult to close the stapler properly.
5. Skipping the test staple. Always test on a scrap piece of paper before using it on something important. A quick check saves you from ruining a document or discovering a jam at the worst moment.
Frequently Asked Questions
- What Size Staples Do Most Standard Staplers Use?
The majority of standard desktop staplers use 26/6 or 24/6 staples. These numbers refer to the wire gauge and leg length. When in doubt, check the bottom or side of your stapler — many manufacturers print the compatible staple size right on the body. You can also check the original packaging if you still have it. Using the correct size is the single most important thing you can do to keep your stapler working smoothly. - Why Does My Stapler Jam Right After I Refill It?
Jamming after a refill usually comes down to one of three things: the wrong staple size, a bent strip, or staples loaded in the wrong direction. Open the stapler carefully, remove the staples, and check all three. Make sure the strip lies completely flat in the channel and that the pointed ends face down. If jams keep happening, inspect the channel for small pieces of a broken staple that might be stuck inside. - How Often Should I Refill My Stapler?
That depends entirely on how much you use it. A standard strip holds about 100 staples. If you’re stapling several documents a day, you might refill every week or two. Light users might go months between refills. A good habit is to keep a spare box of staples in your desk so you’re never caught off guard. Checking the staple level before a big project takes just a second and avoids interruptions.
Conclusion
How to refill a stapler really is as simple as it looks once you know the steps. You check the size, open the stapler, load the strip correctly, and close it back up. The whole process takes about a minute.
With the tips and steps in this guide, you won’t need to ask for help or waste money on a replacement. Keep a box of the right staples nearby, follow the steps, and you’ll never be stuck with an empty stapler again.
Hopefully, you now feel confident in your stapler refilling abilities. Remember to always check the size and orientation of the staples before loading them into your stapler, and be sure to close it properly afterwards. Happy stapling!
