
Picture this: you’re standing in front of a classroom or a boardroom, and instead of crowding everyone around a tiny iPad screen, you mirror everything onto a large, interactive Smartboard. Suddenly, every diagram, video, and note is visible to the whole room. That’s the magic of connecting your iPad to a Smartboard, and the good news is that it’s far easier than most people expect.
Whether you’re a teacher trying to make lessons more engaging, a presenter sharing slides with a client, or a team leader running a brainstorming session, knowing how to link your iPad to a Smartboard is a skill worth having.
In this guide on how to connect ipad to smartboard, we’ll walk through the benefits, the gear you’ll need, and ten simple steps to get connected.
What Are the Benefits?
Connecting an iPad to a Smartboard isn’t just about a bigger screen. It changes the way you teach, present, and collaborate. Here’s why so many people make the switch.
- Better visibility for everyone. When you mirror your iPad onto a Smartboard, every person in the room can see the same content clearly. No more passing a device around or squinting at a small display. This is especially helpful in classrooms where students sit at the back or in meeting rooms with large groups.
- More interactive lessons and presentations. Smartboards are touch-sensitive, which means you can write, draw, highlight, and annotate directly on the screen. Combine that with the apps on your iPad, and you have a powerful tool for explaining complex ideas. Teachers can solve math problems live, mark up reading passages, or pull up videos in a flash.
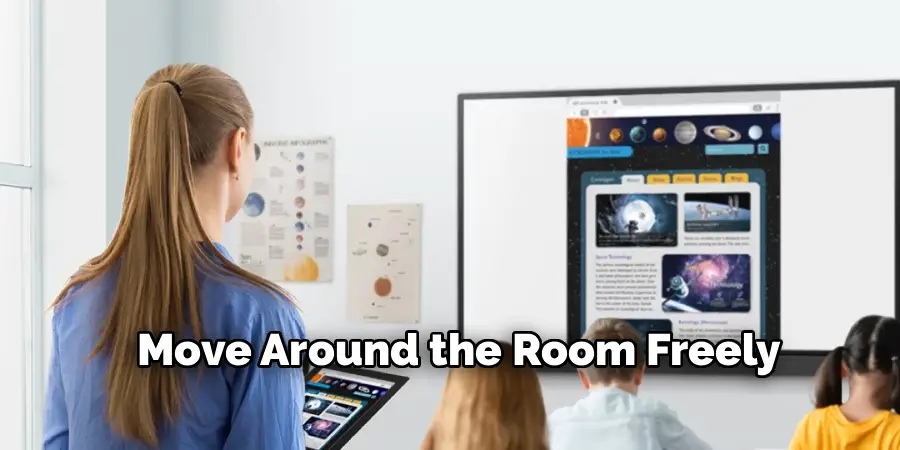
- Freedom to move around the room. Because your iPad connects wirelessly in most cases, you don’t have to stand behind a desk. You can walk among your students or colleagues while controlling the content from your hands. This keeps energy high and helps you stay connected with your audience.
- Easy sharing of any content. Photos, web pages, PDFs, slideshows, and apps all appear instantly on the big screen. You can switch between resources without fumbling with cables or files. This flexibility makes lessons and meetings flow more smoothly.
- Improved engagement and participation. When content is large, colorful, and interactive, people pay closer attention. Students are more likely to join in, and meeting participants stay focused. The combination of an iPad and a Smartboard turns passive viewers into active participants.
In short, this setup saves time, boosts clarity, and makes any session more dynamic. Whether you’re in a classroom, a meeting, or a conference room, the benefits are hard to ignore.
What Will You Need?
Before you start, gather a few essentials. The exact items depend on your Smartboard model and how you want to connect, but here’s a handy checklist.
- An iPad with the latest available iOS or iPadOS update for the smoothest performance.
- A Smartboard or interactive display that supports screen mirroring or wired input.
- A stable Wi-Fi network if you plan to connect wirelessly. Both devices should be on the same network.
- AirPlay support built into your Smartboard, or an Apple TV connected to it to enable wireless mirroring.
- An HDMI adapter (such as the Apple Lightning or USB-C to HDMI adapter) if you prefer a wired connection.
- An HDMI cable long enough to reach from your iPad to the Smartboard.
- A compatible mirroring app, like the Smart Learning Suite, AirServer, or Reflector, depending on your board’s brand.
- Power sources for both your iPad and any adapters, so nothing dies mid-presentation.
Having these ready in advance makes the whole process quick and frustration-free. Now let’s connect.
10 Easy Steps on How to Connect iPad to Smartboard
Follow these steps in order. They cover both wireless and wired methods, so use the ones that match your setup.
Step 1: Check Your Smartboard’s Connection Options
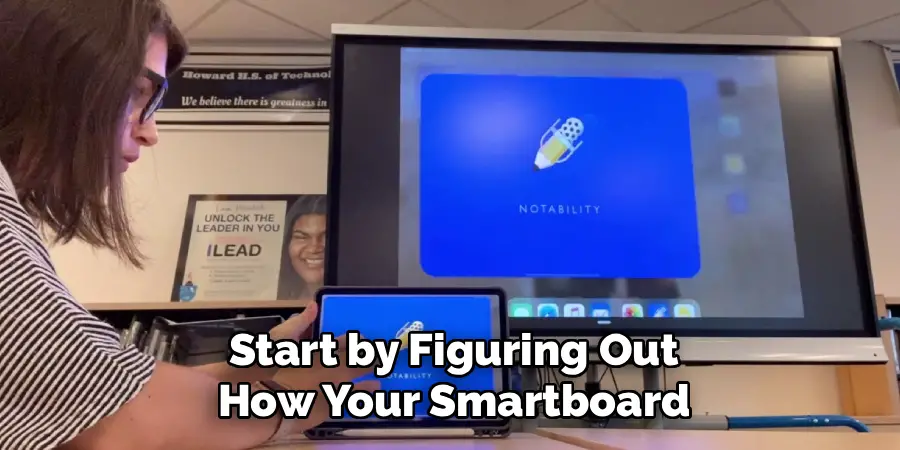
Start by figuring out how your Smartboard receives a signal. Some modern boards have built-in AirPlay or screen-sharing features. Others rely on an external device like an Apple TV or require a wired HDMI connection. Look at the ports on the side of the board or check the user manual. Knowing your options upfront saves you time and tells you whether you’ll go wireless or wired.
Step 2: Update Your iPad
Outdated software is one of the most common reasons connections fail. Open the Settings app on your iPad, tap General, then tap Software Update. Install any available updates before you continue. A current version of iPadOS ensures that mirroring features work properly and that your iPad plays nicely with newer Smartboard technology.
Step 3: Connect Both Devices to the Same Wi-Fi Network
For wireless connections, your iPad and your Smartboard (or Apple TV) must share the same Wi-Fi network. On your iPad, go to Settings, tap Wi-Fi, and select your network. Then confirm that your Smartboard or Apple TV is connected to that exact same network. If they’re on different networks, AirPlay won’t find the board. This single step solves most mirroring problems.
Step 4: Enable AirPlay or Screen Mirroring on the Smartboard
If your Smartboard supports AirPlay, turn that feature on through its settings menu. For boards using an Apple TV, make sure the Apple TV is powered on and set to the right input. Some boards run a dedicated app, such as the Smart Learning Suite, that you’ll need to open first. Get the receiving device ready so it can accept the signal from your iPad.
Step 5: Open the Control Center on Your iPad
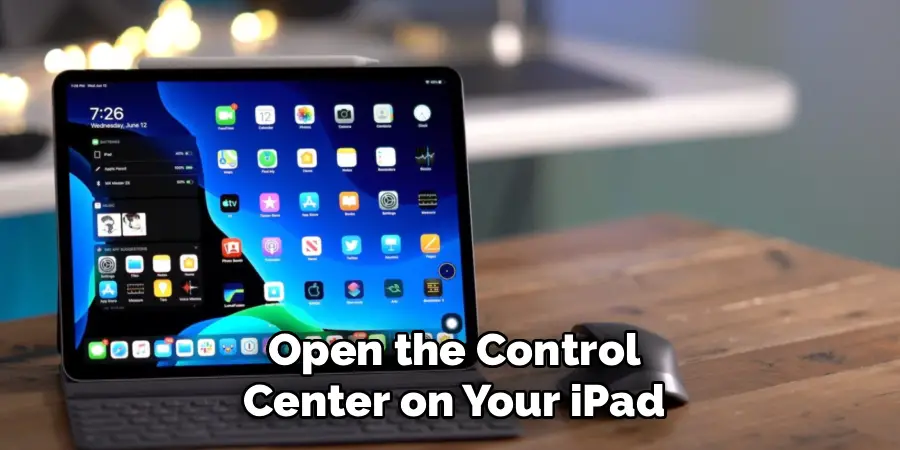
Now reach for your iPad. Swipe down from the top-right corner of the screen to open the Control Center. On older iPads with a Home button, swipe up from the bottom instead. The Control Center holds the screen mirroring button you’ll need in the next step. Keep it open and ready.
Step 6: Tap Screen Mirroring and Select Your Smartboard
In the Control Center, tap the Screen Mirroring icon (two overlapping rectangles). Your iPad will scan for available devices and show a list. Find your Smartboard or Apple TV by name and tap it. Within a few seconds, your iPad’s screen should appear on the Smartboard. If a code pops up on the board, enter it on your iPad to confirm the connection.
Step 7: Use a Wired Connection if Wireless Isn’t Available
No AirPlay or Wi-Fi? No problem. Plug an HDMI adapter into your iPad’s charging port. Connect an HDMI cable to the adapter, then plug the other end into an HDMI port on your Smartboard. On the board, switch the input source to the matching HDMI channel using its remote or on-screen menu. Your iPad screen will display instantly, no network required.
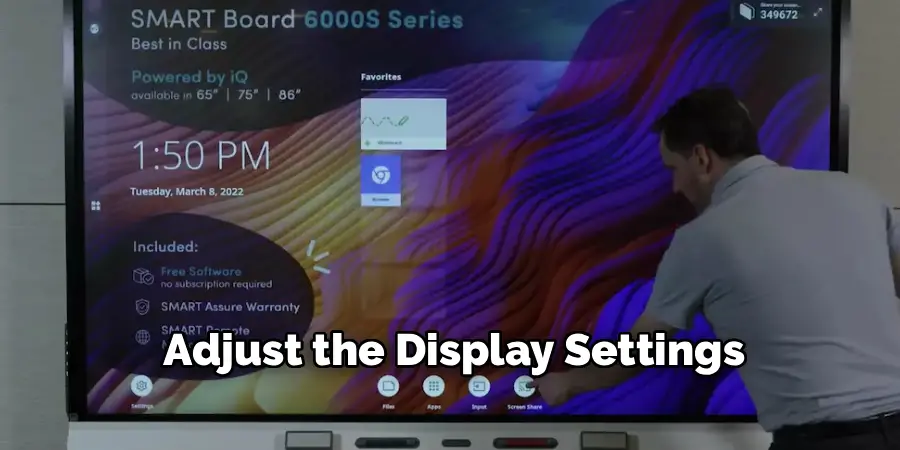
Step 8: Adjust the Display Settings
Once connected, take a moment to fine-tune the picture. Check that the image fills the screen and isn’t stretched or cut off. You can rotate your iPad between portrait and landscape to find the best fit for your content. If the board looks too dim or bright, adjust its brightness settings. A clear, well-sized image keeps your audience comfortable.
Step 9: Test the Interactive Features
If your Smartboard is touch-enabled, try tapping and writing on it to confirm everything works. Open an app on your iPad and interact with it through the board. Test annotation tools, drawing pens, and any apps you plan to use. Running a quick test before your lesson or meeting helps you catch issues early, when there’s still time to fix them.
Step 10: Start Presenting
You’re all set. Open the presentation, lesson, video, or app you want to share, and it will appear on the Smartboard for everyone to see. Move around the room freely if you’re connected wirelessly, and use the board’s touch features to engage your audience. When you’re finished, simply tap Stop Mirroring in the Control Center or unplug the cable to disconnect.
5 Things You Should Avoid
Even a smooth process can hit snags. Steer clear of these common mistakes to keep your connection reliable.
- Skipping software updates. An outdated iPad often refuses to connect or drops the signal mid-session. Always update before an important presentation.
- Mixing up Wi-Fi networks. If your iPad and Smartboard sit on different networks, wireless mirroring simply won’t work. Double-check that both devices share the same connection.
- Using cheap or damaged adapters. Low-quality HDMI adapters can cause flickering, no signal, or sudden disconnects. Stick with genuine or well-reviewed accessories for steady performance.
- Forgetting to charge your devices. A dead iPad in the middle of a lesson is embarrassing and disruptive. Keep your iPad charged or plugged in throughout.
- Not testing beforehand. Waiting until your audience is seated to test the connection is risky. Set up and run a quick trial a few minutes early so you can fix any problems calmly.
Conclusion
How to connect iPad to smartboard opens up a world of possibilities for teachers, presenters, and teams. With your content displayed on a large, interactive screen, lessons become more engaging, meetings run more smoothly, and presentations leave a stronger impression. The freedom to move around the room while controlling everything from your iPad is a genuine game-changer.
As you’ve seen, the process is straightforward. Check your Smartboard’s options, update your iPad, get both devices on the same network, and then mirror your screen with a few taps. If wireless isn’t available, a simple HDMI adapter and cable do the job just as well. Take a moment to adjust the display and test your setup, and you’ll be ready to present with confidence.
Avoid the common pitfalls, keep your gear in good shape, and always run a quick test before the big moment. Once you’ve connected a few times, the whole routine will feel like second nature. So grab your iPad, fire up your Smartboard, and start sharing your ideas on the big screen. Your audience will thank you for it.
