
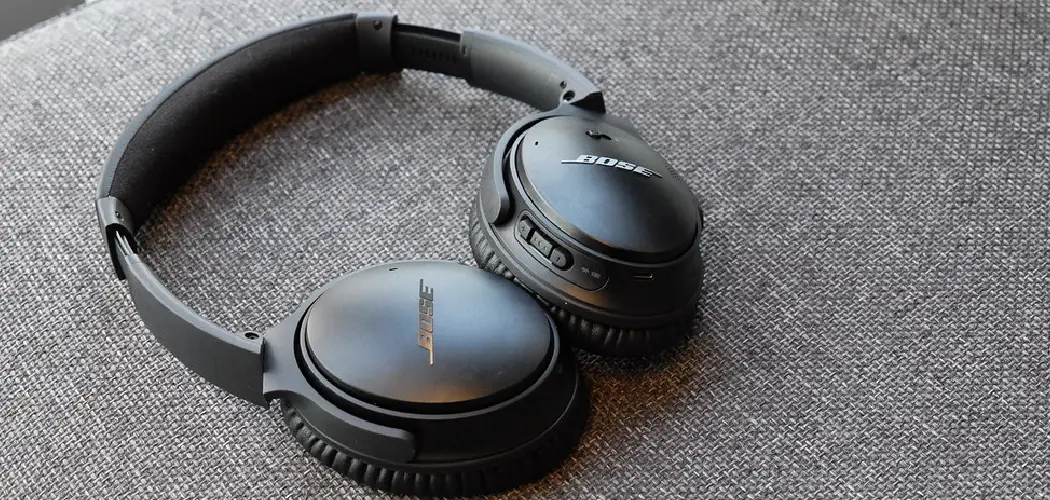
Worn-out ear pads can turn your favorite Bose headphones from a comfort dream into a daily annoyance. Maybe the cushioning has flattened, the surface is peeling, or the foam just doesn’t feel as plush as it used to. The good news? You don’t need to buy a whole new pair. Replacing the ear pads yourself is one of the easiest fixes you can do at home, and it can make your headphones feel brand new in just a few minutes.
This guide on how to replace Bose headphone pads walks you through everything you need to know. You’ll learn the benefits of swapping your pads, the simple tools you’ll need, and a clear 10-step process to do it right. We’ll also cover common mistakes to avoid and answer a few popular questions. By the end, you’ll feel confident handling this small upgrade on your own.
What Are the Benefits?
Replacing your ear pads is a small effort with a big payoff. Here’s why it’s worth doing.
- Better comfort. Fresh pads restore the soft cushioning that makes long listening sessions enjoyable. Old, flattened foam can press uncomfortably against your ears.
- Improved sound quality. Worn pads can change how your headphones seal around your ears. A good seal helps maintain bass response and blocks outside noise. New pads bring back that snug fit.
- A cleaner, fresher feel. Over time, ear pads collect sweat, oils, and skin cells. Swapping them out gives you a clean surface that’s more hygienic to wear.
- Money saved. Pads cost a fraction of a new headphone set. Replacing them extends the life of gear you already own and love.
- A like-new look. Cracked or peeling pads make headphones look tired. New ones instantly refresh their appearance.
This simple change can make headphones you were ready to retire feel exciting to use again.
What Will You Need?
You don’t need a workshop full of tools for this job. Most replacements require just a few basic items. Gather these before you start so the process goes smoothly.
- Replacement ear pads that match your headphone model. Always confirm compatibility before buying.
- A clean, flat work surface with good lighting.
- A soft cloth to wipe down the headphones and protect the finish.
- A plastic pry tool or your fingers for gently lifting the old pads. Avoid sharp metal tools when possible.
- A small soft brush to clean away dust and debris.
- Patience and a steady hand. Rushing is the most common cause of mistakes.
Having everything within reach means you won’t have to stop halfway through. A tidy setup also helps you keep track of any small parts.
10 Easy Steps on How to Replace Bose Headphone Pads
Follow these steps in order. Take your time with each one, and you’ll have fresh pads installed before you know it.
Step 1. Set Up a Clean Workspace
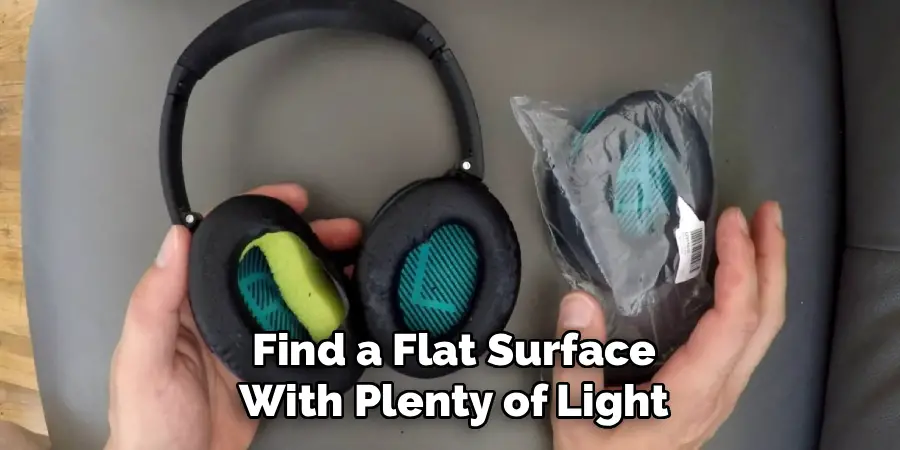
Find a flat surface with plenty of light, like a desk or kitchen table. Clear away clutter so you have room to work. Lay down a soft cloth to protect both your headphones and the table. Good lighting matters here because you’ll be inspecting small clips and grooves. A clean space also keeps tiny components from rolling away or getting lost.
Step 2. Inspect Your Current Pads
Before removing anything, take a close look at how the existing pads attach. Some pads clip into a plastic ring, while others tuck into a groove around the ear cup. Gently feel around the edge with your finger to understand the connection. Understanding the attachment style now will make removal and installation much easier. If you can, take a quick photo for reference.
Step 3. Power Off and Disconnect
If your headphones are wireless, turn them off. Unplug any cables connected to them. This protects the electronics and keeps you from accidentally pressing buttons during the process. It’s a small step, but it removes any risk of damaging internal parts while you handle the ear cups.
Step 4. Gently Lift One Corner of the Old Pad
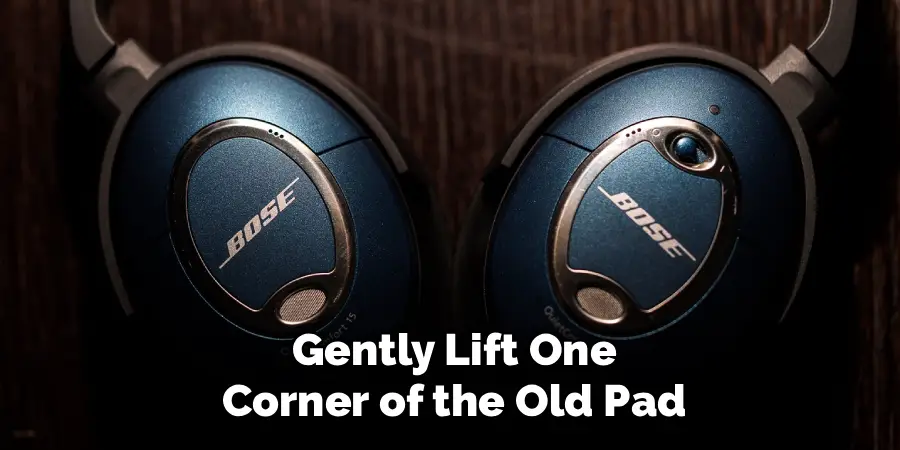
Start with a single ear cup. Use your fingers or a plastic pry tool to lift one edge of the pad away from the cup. Work slowly. You should feel it begin to separate from the clip or groove. Don’t force it. If it resists, lift from a different spot and apply steady, gentle pressure instead of pulling hard.
Step 5. Work Your Way Around the Pad
Once one section is free, continue easing the rest of the pad off the ear cup. Move around the edge in a circle, releasing each part as you go. Keep your touch light to avoid stretching or tearing anything you might want to inspect. The pad should come off completely without much force.
Step 6. Clean the Exposed Ear Cup
With the old pad removed, you’ll see the bare ear cup, often with a thin speaker mesh or driver visible. Use a soft brush or dry cloth to gently remove dust and debris. Avoid pressing on the speaker area. Never use liquids directly on the driver. A clean surface helps the new pad sit properly and seal well.
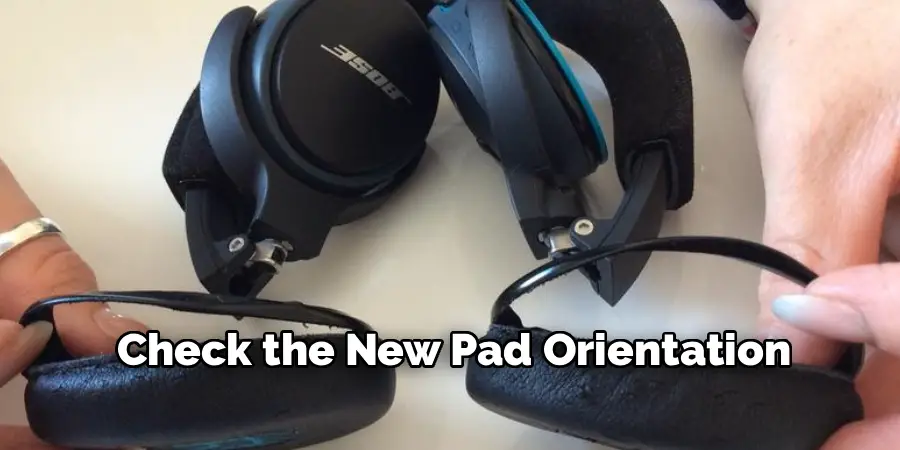
Step 7. Check the New Pad Orientation
Pick up your new pad and notice its shape. Many ear pads are slightly oval and designed to fit a specific way, with a wider section toward the back or front. Match the new pad’s orientation to how the old one sat. Installing it the wrong way can create a poor fit and uneven comfort.
Step 8. Attach the New Pad
Line up one edge of the new pad with the ear cup’s groove or clip ring. Press it gently into place, starting from that first edge. Work your way around, tucking or clipping the pad in section by section. Use light, even pressure. The pad should sit flat and snug against the cup without bulging or gaps.
Step 9. Press Around the Full Edge
Once the pad is mostly on, run your fingers around the entire edge to make sure it’s seated evenly. Check that no part is loose or popping out. A properly installed pad feels firm and smooth all the way around. Adjust any section that looks uneven before moving on.
Step 10. Repeat on the Second Ear Cup and Test
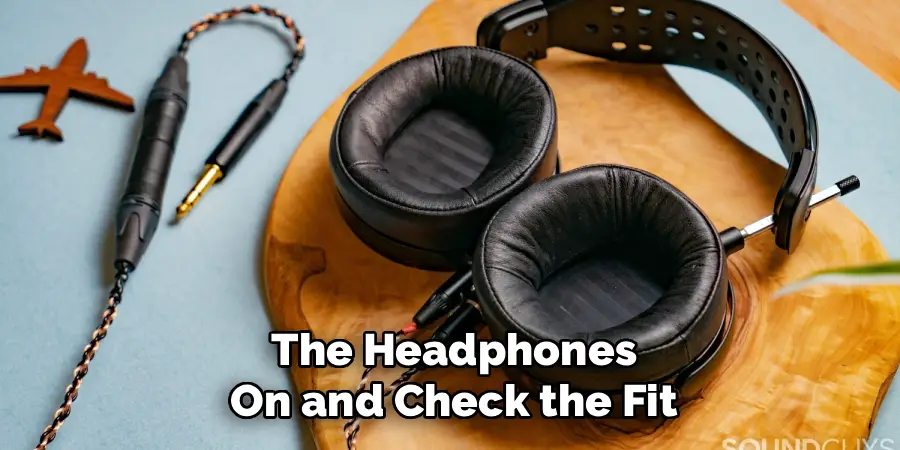
Now do the same process on the other side, following Steps 4 through 9. Once both pads are installed, put the headphones on and check the fit. They should feel comfortable, snug, and balanced. Play some audio to confirm the sound seal feels right. If something feels off, gently re-seat the pad until it’s just right.
5 Things You Should Avoid
A few common mistakes can make this job harder than it needs to be. Steer clear of these.
- Using sharp metal tools. Knives or screwdrivers can scratch the cups, slice the new pads, or damage the speaker mesh. Stick to plastic tools or your fingers whenever possible.
- Pulling too hard. Yanking the old pad off can stretch attachment points or break clips. Slow, gentle pressure is always safer and more effective.
- Buying the wrong pads. Pads come in different shapes and sizes. Installing pads made for a different model can create a poor seal and uncomfortable fit. Always confirm compatibility first.
- Forcing the new pad on. If a pad won’t seat easily, stop and check the orientation. Forcing it can cause uneven mounting or damage the rim.
- Touching the speaker driver. The exposed driver is delicate. Pressing on it or getting moisture inside can affect sound quality. Keep your cleaning gentle and dry near that area.
Avoiding these pitfalls keeps both your headphones and your new pads in great shape.
Frequently Asked Questions
Q: How Often Should I Replace My Headphone Ear Pads?
It depends on how often you use your headphones and how well you care for them. Heavy daily users may notice wear within one to two years. Signs it’s time include flattened cushioning, peeling material, or a weaker sound seal. If your pads feel uncomfortable or look worn, replacing them is a quick fix. Regular cleaning can help your pads last longer between replacements.
Q: Can I Use Third-party Ear Pads Instead of Official Ones?
Yes, many third-party pads work well and often cost less. The key is choosing pads designed to fit your specific headphone model. Quality varies between brands, so read reviews before buying. Well-made replacement pads can restore comfort and sound nicely. Just make sure the size, shape, and attachment style match your headphones for the best results.
Q: Will Replacing the Pads Myself Damage My Headphones?
Not if you work carefully. Most ear pads are designed to be removed and replaced by hand. The risk comes from rushing, using sharp tools, or forcing parts into place. As long as you follow gentle, patient steps and avoid touching the speaker driver, the process is very safe. Take your time, and your headphones should be just fine.
Conclusion
How to replace bose headphone pads is one of the simplest ways to bring tired headphones back to life.
With just a few basic tools and a little patience, you can restore the comfort, sound seal, and fresh feel you loved when they were new. The 10-step process is beginner-friendly, and the small effort pays off every time you put them on.
Remember to choose compatible pads, work gently, and avoid the common mistakes we covered. Once you’ve done it once, you’ll see how quick and rewarding it is. Ready to give your headphones a refresh? Gather your tools, set aside ten minutes, and start with Step 1 today.
