
The Logitech MX Vertical is more than just a mouse; it’s an ergonomic tool designed to reduce muscle strain and improve wrist posture. Its unique 57-degree vertical angle promotes a natural handshake position, aiming to decrease forearm tension and wrist pressure. But to unlock these benefits, you first need to connect it to your computer. Learning how to pair MX Vertical mouse is a straightforward process, but knowing the different connection methods and a few key steps will ensure a smooth and stable setup.
This comprehensive guide will walk you through everything you need to connect your MX Vertical, whether you’re using Bluetooth or a wireless receiver. We will cover the specific steps for both Windows and macOS, explain how to switch between multiple computers seamlessly, and show you how to customize the mouse using the Logi Options+ software. With these instructions, you’ll be able to pair your mouse quickly and start enjoying a more comfortable computing experience.
Understanding Your Pairing Options
The MX Vertical offers two primary ways to connect to your computer, giving you flexibility based on your hardware and preferences. Each method provides a reliable wireless connection, but they work in slightly different ways.
Connecting with Bluetooth Low Energy
The most direct way to connect your MX Vertical is through Bluetooth Low Energy (LE). This method is ideal if your laptop or desktop already has built-in Bluetooth capabilities, as it doesn’t require using a USB port for a separate receiver. It’s a clean and simple solution, especially for modern laptops with limited ports. Bluetooth pairing allows the mouse to communicate directly with your computer’s operating system.
Connecting with a Logi Wireless Receiver
Your MX Vertical also comes with a small USB receiver, which could be a Logi Bolt or Unifying Receiver. This dongle offers a dedicated, plug-and-play wireless connection between your mouse and computer. Using the receiver can be beneficial in certain situations, such as on desktops without Bluetooth, in environments with heavy wireless interference, or when you need a consistently strong link. The receiver creates a direct and secure channel for the mouse, often providing a robust connection right out of the box.
Preparation: Getting Your Mouse Ready to Pair
Before you begin the pairing process, a few simple preparatory steps will ensure everything goes smoothly. Taking a moment to check the mouse’s power and select the right channel will prevent common setup issues.
Charge Your MX Vertical
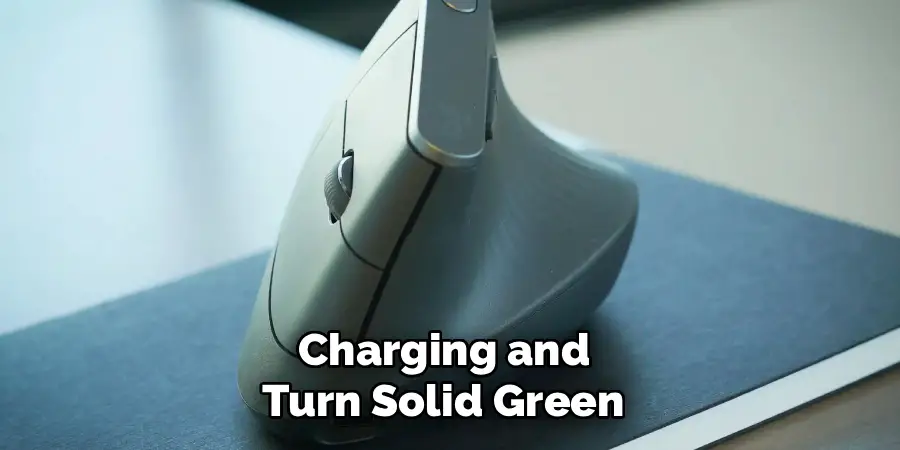
First, make sure your mouse has enough power. If you are setting it up for the first time, it’s a good idea to plug it in using the included USB-C charging cable. The status LED near the thumb rest will pulse green while charging and turn solid green when it’s fully charged. While the MX Vertical can be used while charging, having a sufficient charge is important for the wireless pairing process.
Power On and Select a Channel
Locate the power switch on the bottom of the mouse and slide it to the “on” position. On the underside, you will also find the Easy-Switch button with three numbered lights. These lights represent the three different devices you can pair your mouse with. Press the Easy-Switch button to cycle through the channels (1, 2, or 3). Select an unused channel for the computer you wish to pair. The light for the selected channel will begin to blink slowly, indicating it is ready to be put into pairing mode.
How to Pair MX Vertical Mouse: via Bluetooth
Connecting your mouse using Bluetooth is a simple process that involves putting the mouse into pairing mode and then discovering it in your computer’s Bluetooth settings.
Entering Bluetooth Pairing Mode
With your desired channel selected, press and hold the Easy-Switch button on the bottom of the mouse for about three seconds. The LED light for that channel will begin to blink rapidly. This rapid blinking signifies that the mouse is now in pairing mode and is discoverable by your computer for the next few minutes.
Connecting on a Windows PC
On your Windows 10 or Windows 11 computer, open the Settings menu by pressing the Windows key + I. Navigate to “Bluetooth & devices” (or “Devices” > “Bluetooth & other devices” on older Windows 10 versions). Ensure that Bluetooth is turned on.
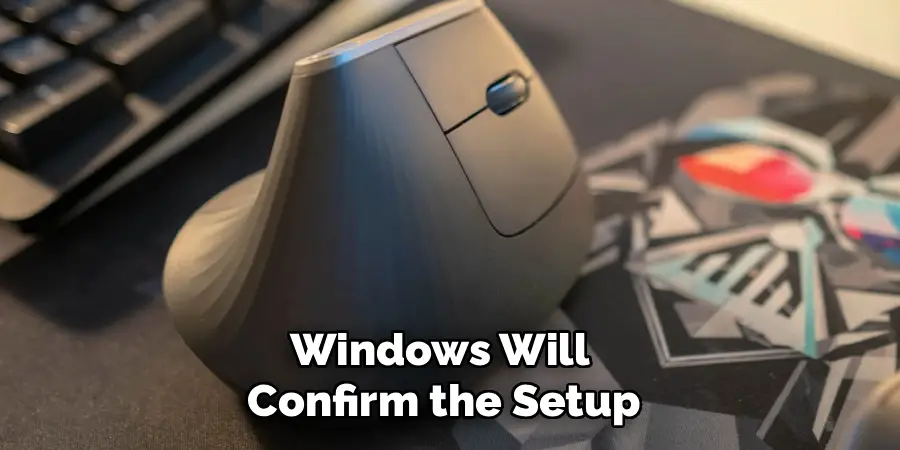
Click on “Add device” and select “Bluetooth” from the list of device types. Your computer will begin searching for nearby devices. After a few moments, “MX Vertical” should appear in the list. Click on it to initiate the pairing process. Once connected, Windows will confirm the setup, and the LED on your mouse will turn solid for a few seconds before turning off. Your mouse is now paired and ready to use.
Connecting on a Mac
On your macOS device, open “System Settings” from the Apple menu (or “System Preferences” on older versions). Click on “Bluetooth.” Make sure Bluetooth is enabled. Your Mac will automatically search for discoverable devices in the vicinity.
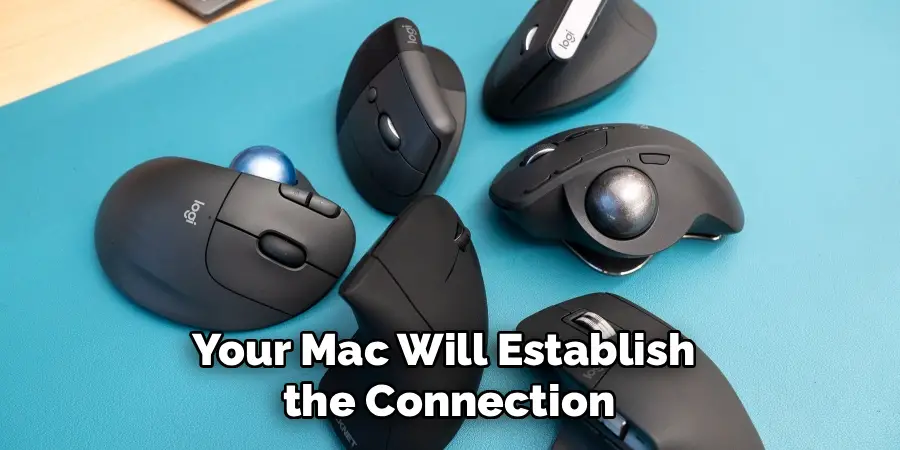
The MX Vertical should appear in the list of available devices. Click the “Connect” button next to its name. Your Mac will establish the connection, and the mouse will be ready to use. The status LED on the mouse will turn solid to confirm the successful pairing.
Pairing MX Vertical with a USB Receiver
Using the included Logi USB receiver is an even simpler, plug-and-play method. This is especially useful for computers without Bluetooth or for users who prefer a dedicated connection.
Plug In the Receiver
Start by plugging the Logi USB receiver into an available USB-A port on your computer. Your operating system should automatically detect the new hardware and install any necessary basic drivers. In most cases, the mouse is pre-paired to the receiver it came with from the factory.
Confirm the Connection
Once the receiver is plugged in, turn on your MX Vertical. If it was pre-paired, it should connect automatically within a few seconds. The channel light on the bottom that corresponds to the receiver will become solid. You can move the mouse to see if the cursor on your screen responds. If it does, your setup is complete.
If the mouse does not connect automatically, you may need to re-pair it to the receiver using the Logi Options+ software. The software can guide you through the process of linking your device to the receiver.
Switching Between Paired Devices with Easy-Switch
One of the most powerful features of the MX Vertical is its ability to pair with and switch between up to three different computers. This is managed by the Easy-Switch button at the bottom of the mouse.
To switch between connected devices, simply press the Easy-Switch button. The numbered LED will cycle to the next channel. For instance, if you paired your laptop to channel 1 via Bluetooth and your desktop to channel 2 via the USB receiver, pressing the button once will switch control from your laptop to your desktop instantly. This seamless transition is perfect for users who work across multiple systems.
Customizing Your Mouse with Logi Options+
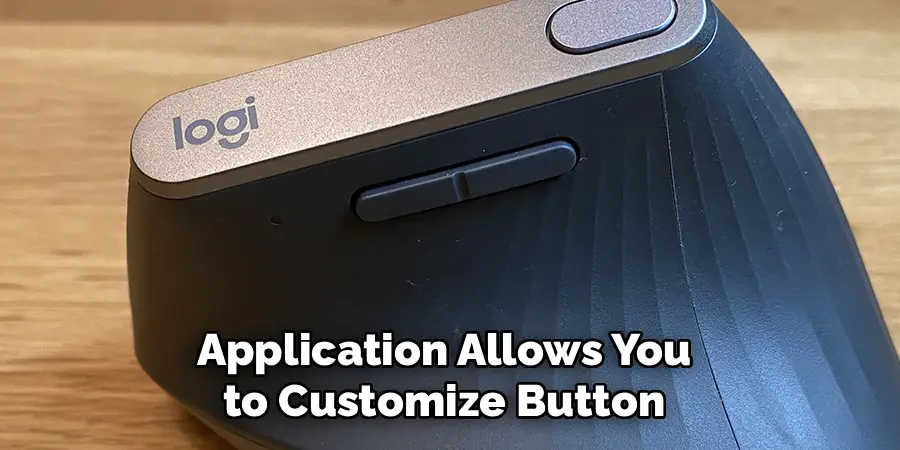
To unlock the full potential of your MX Vertical, you should install the Logi Options+ software. This application allows you to customize button functions, adjust pointer speed, and access advanced features.
Installing the Software
You can download Logi Options+ for free from the Logitech website. Run the installer and follow the on-screen instructions. The software will automatically detect your connected MX Vertical mouse.
Customizing Buttons and Pointer Speed
Within Logi Options+, you can reassign the functions of the programmable buttons. For example, you can set the forward and back buttons to copy and paste, or configure the top button to open a specific application. You can also adjust the pointer speed (DPI) to your liking. A lower DPI offers more precision, while a higher DPI allows you to move the cursor across the screen faster. The MX Vertical even has a dedicated pointer speed button on top that lets you switch between two preset speeds on the fly.
Enabling Logitech Flow
Logi Options+ is also where you can enable Logitech Flow. This technology allows you to move your mouse cursor seamlessly from one computer screen to another, as if they were part of a single extended desktop. You can even copy text, images, and files from one computer and paste them to the other. Both computers must be on the same network and have Options+ installed for Flow to work.
Troubleshooting Common Pairing Issues
If you run into trouble while trying to pair your MX Vertical, here are some solutions to the most common problems.
Mouse Won’t Enter Pairing Mode
If the LED light on the bottom of the mouse doesn’t start blinking rapidly, make sure you are holding the Easy-Switch button down long enough (a full three seconds). If it still fails, try turning the mouse off and on again before retrying.
Mouse Is Not Discoverable in Bluetooth Settings
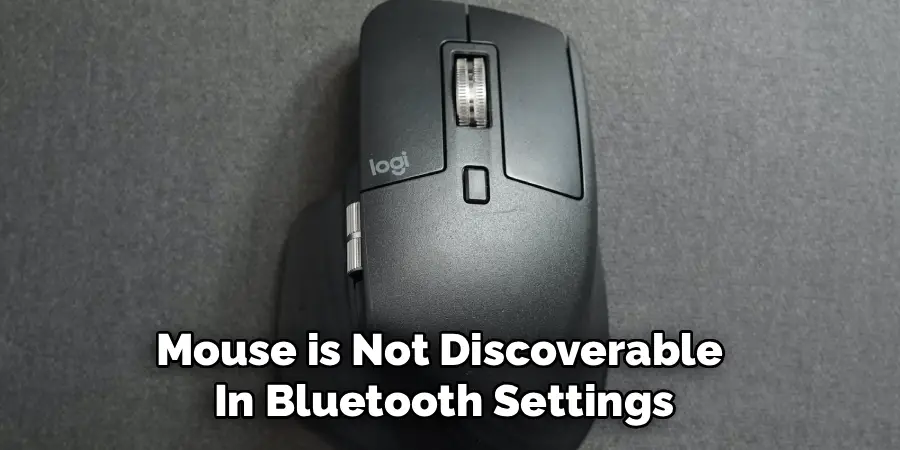
If your computer can’t find the mouse, first ensure the mouse is in pairing mode with a rapidly blinking light. Move the mouse closer to the computer to strengthen the signal. It also helps to turn off and on your computer’s Bluetooth. Finally, check for potential wireless interference from other devices like microwaves, cordless phones, or too many other Bluetooth devices operating nearby.
USB Receiver Not Recognized
If you plug in the receiver and nothing happens, try a different USB port. Sometimes, ports on the front of a desktop tower may not provide enough power or bandwidth. Plugging it directly into a port on the motherboard (at the back of the computer) often works better. You can also try installing Logi Options+ to help the system recognize and pair with the receiver.
Cursor is Laggy or Jumpy
A choppy or laggy cursor is often a sign of a weak wireless connection or interference. If using Bluetooth, try moving other wireless devices away. If using the receiver, consider using a USB extension cable to move the receiver closer to your mouse and into its direct line of sight. Also, check your mouse’s battery level, as a low battery can affect performance.
Conclusion
Learning how to pair MX Vertical mouse is the first step toward a more comfortable and productive work setup. By following the simple steps for either Bluetooth or the included USB receiver, you can establish a stable connection in just a few minutes. The true power of this ergonomic device is unlocked when you use the Easy-Switch feature to control multiple computers and customize its functions with the Logi Options+ software.
With its science-driven design and flexible connectivity, the MX Vertical can significantly reduce physical strain during long hours at the computer. Take the time to pair it correctly and configure its settings to fit your workflow. Your wrists and forearms will thank you for it.
